My 40 year old tube with 2 patches finally gave up the ghost, one of the patches delaminated from the tube and something happened to the rubber that it got gummy so I decided to replace the tube. I have been changing Model T tires for over 50 years, drop center, clincher, and split rims. I have learned a few tricks and as tire mounting goes, split rims are probably the least of a wrestling match. One word of caution to new T owners, do not give your clincher or split rims to a modern tire store to have them mount tires for you. The right tools and a little know how goes a long way for success. Here is how I do it.
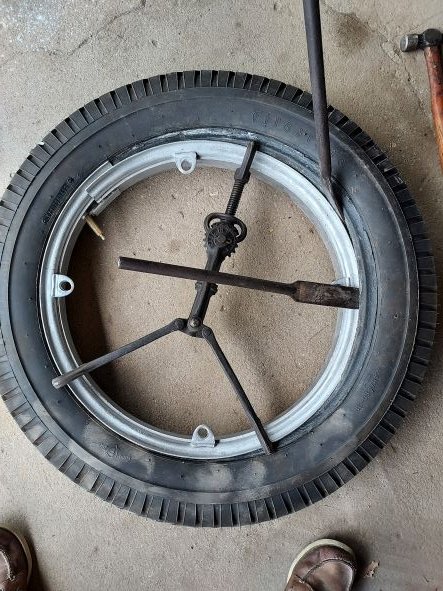
Start with the right tools and a clean floor. A rim spreader, 2 large tire irons, hammer, valve stem remover, and baby powder.
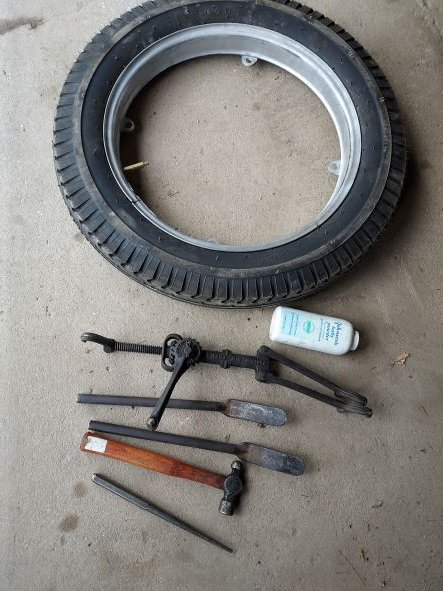
- tools.jpg (66.92 KiB) Viewed 3003 times
Starting with a bare rim, put the rim spreader with the single hook near the rim split on the side of the rim that will overlap on the inside of the rim, that is the side of the rim with the male locking tab. Do not go past the valve stem hole or you may damage the rim.
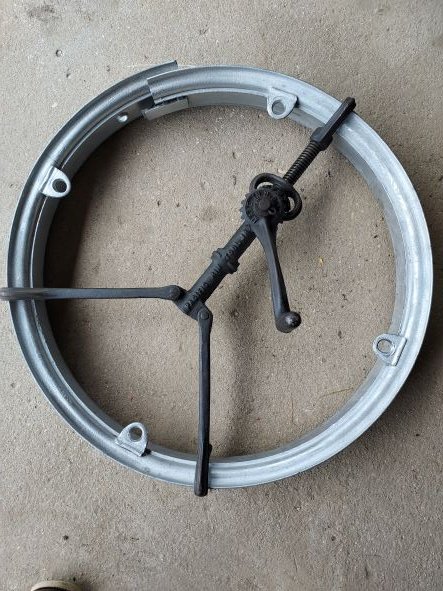
- rim.jpg (79.84 KiB) Viewed 3003 times
Partially inflate the tube, dust the tube, flap, and inside the tire with baby powder. Put the tube and flap inside the tire. Most modern tires have a colored dot on the side wall to indicate where to put the tire stem for best balancing. Insert the valve stem into the rim stem hole and start there to mount the tire.
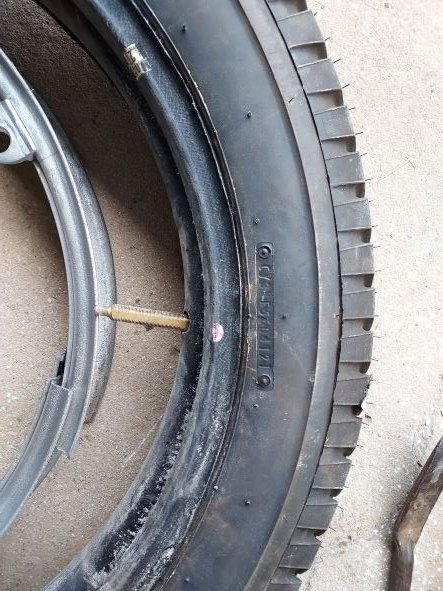
- dot.jpg (76.52 KiB) Viewed 3003 times
Use the tire irons to pry the tire onto the rim. Both sides of the tire at once. Use one iron to pop the tire into the rim, leave the iron in place and use another iron a few inches further away from the first. Once the second iron has popped the tire on remove the first iron and do again a few inches further. Doing both sides of the tire with the tube and flap together will protect the tube from being pinched.
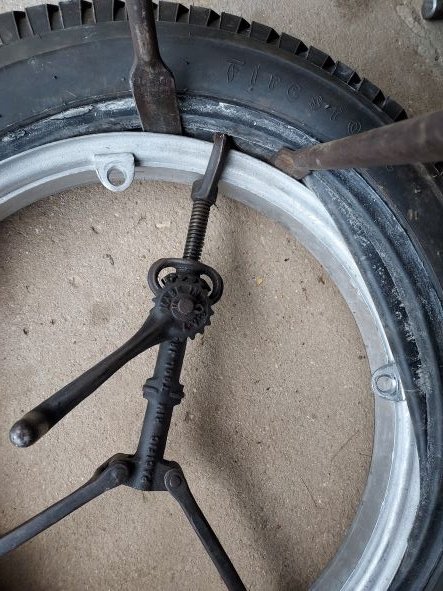
- working.jpg (76.69 KiB) Viewed 3003 times
- working2.jpg (86.04 KiB) Viewed 3003 times
Once the tire is on the rim you need to expand the rim. The valve stem is a problem since it will start to angle as the rim expands. Best to start with the valve stem angled the opposite way so it will compensate for the expanding rim. Also the rim spreader needs to be reversed so the 2 hooks are now on the male side.
More to follow.


